
How To BBQ Ribs On A Gas Grill
How To BBQ Ribs On A Gas Grill
The sun is shining, and the backyard is filled with the laughter of family and friends — the scent of ribs grilling wafts through the air. The ribs are sizzling on the grill, their juices dripping and creating a mouthwatering aroma. As they cook, you hear the crackle of the grill and the soft hum of conversations, building anticipation for the feast to come.
Does this scenario sound like something you want in your backyard? BBQ ribs are a crowd-pleaser, and grilling them on an outdoor gas grill is easier than you might think. Mastering BBQ ribs on a gas grill can be a fun and rewarding experience.
With the proper techniques and some patience, you'll soon be serving delicious ribs that everyone will love. Fire up the grill and follow along as we discuss the details of making perfect BBQ ribs.
Preparing the Ribs On A Gas Grill
Before you start grilling, get everything prepared first to avoid stopping in the middle of a task to start another. Proper preparation is vital to ensure the ribs cook evenly and soak up all the delicious flavors. With these simple steps, your ribs will be ready for the grill in no time.
Choosing the Right Ribs
When it comes to BBQ ribs, choosing the right cut makes all the difference. Baby back ribs and spare ribs are the most popular options.
Baby back ribs are smaller and leaner, offering tender meat that's easy to cook. They come from the top part of the rib cage, where the rib meets the spine, so they're shorter and more curved. These ribs have less fat, meaning they cook faster and are perfect for quick grilling sessions.
Spare ribs are larger and have more meat and fat. They come from the belly side of the rib cage, making them a bit tougher but packed with flavor. These types of ribs need a longer cooking time to break down the connective tissue. Because they take longer to cook, they produce rich, juicy meat. Spare ribs are the way to go if you prefer a meatier bite with a bold taste. Your choice depends on your taste and how much time you have for cooking.
Trimming the Ribs
Trimming your ribs is an important step for preparing excellent BBQ. Start by removing the thin membrane on the back of the ribs, which is tough and chewy when cooked. To remove it, slide a butter knife under the membrane and gently pull it off. This step ensures the ribs are tender and allows the flavors to penetrate better.
Now trim any excess fat. While some fat is good for flavor, too much can cause flare-ups on the grill. Trim away thick chunks of fat, but leave a thin layer to keep the meat moist. If you're cooking spare ribs, try trimming the ends and any loose pieces, making the ribs look neater and helping them cook evenly.
Seasoning the Ribs
Seasoning is where you can get creative with your ribs. A good dry rub is essential for adding flavor. Start with a salt and pepper base, then add spices like paprika, garlic powder, and brown sugar. You can also include a touch of cayenne pepper for some heat. Mix your spices and rub a generous amount on both sides of the ribs.
For a deeper flavor, let the seasoned ribs sit for at least 30 minutes before grilling. Some people like to season the ribs the night before and refrigerate them, giving the flavors more time to meld into the meat.
Properly chosen, trimmed, and seasoned ribs are the key to BBQ success. The preparation sets the foundation for delicious, tender ribs.
Setting Up Your Gas Grill for Ribs
Before placing the meat, you must correctly set up your gas grill. Begin by preheating your grill to medium-low heat, around 225-250°F. This low and slow method ensures the ribs cook evenly without burning. Create a two-zone setup by turning on the burners on one side of the grill while leaving the other side off to allow for indirect cooking, where the ribs are placed on the cooler side.
Grilling the Ribs
Once the grill is preheated to the appropriate temperature, it's time to start grilling. Place the seasoned ribs on the cooler side of the grill, bone-side down. This indirect cooking method helps the meat become tender without charring the outside. Close the lid to maintain a steady temperature, and keep an eye on the grill to ensure consistent heat. Avoid opening the lid too often during the first hour of cooking, as this helps retain heat and smoke, ensuring even cooking.
Basting and Turning the Ribs
After the initial hour, you can begin basting the ribs with a flavorful, thin liquid, such as apple juice or a vinegar-based mop sauce. This liquid keeps the ribs moist and adds another layer of flavor. Continue to baste the ribs every hour to maintain moisture without overwhelming the seasoning.
Around the 2-hour mark, turn the ribs over to ensure even cooking, placing them bone-side up. After about 30 minutes, flip them back to bone-side down. This process helps the ribs cook evenly, preventing drying out or overcooking.
Caramelizing and Final Cooking
During the last hour of cooking, apply your favorite BBQ sauce. Brush the sauce on both sides of the ribs, close the lid, and allow the sauce to caramelize, creating a sticky and flavorful glaze.
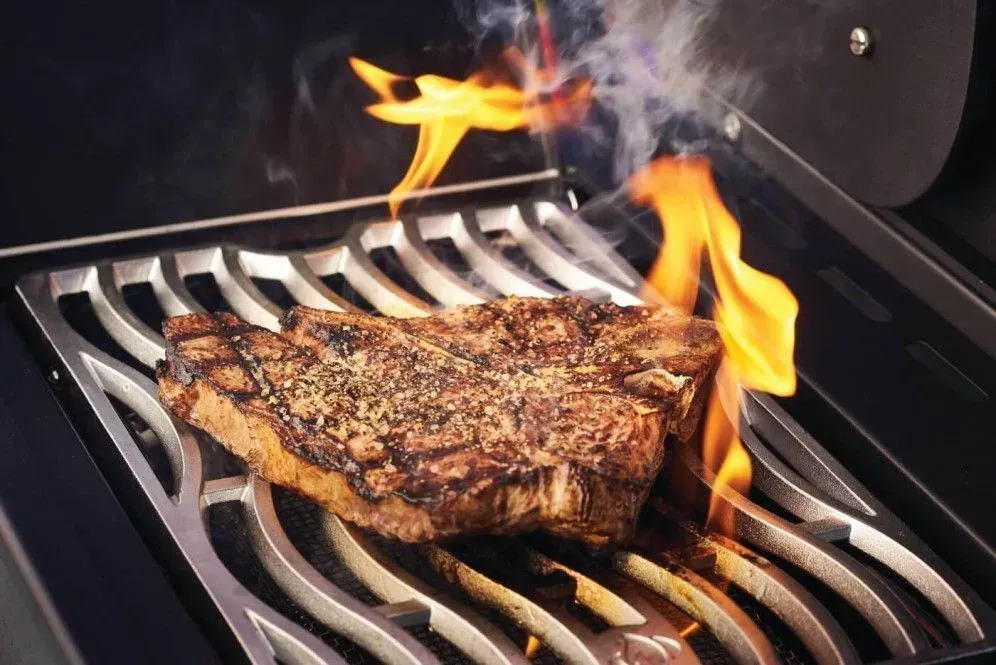
In the final 15-20 minutes of grilling, move the ribs to the direct heat side of the grill to caramelize the sauce and develop a nice char. This step is optional but adds a delicious, slightly crispy exterior to the ribs. Be careful during this stage, as the ribs can burn quickly due to the direct heat.
The total cooking time for ribs on a gas grill ranges from 3 to 4 hours. Use a meat thermometer to check for doneness. The internal temperature should reach about 190-205°F to make sure the meat is tender.
Once the ribs are done, remove them from the grill and let them rest for 10-15 minutes. This resting period allows the juices to redistribute, making the ribs more flavorful and tender.
Tips and Tricks for Perfect Ribs
Achieving perfect BBQ ribs involves a few key tricks. For example, a simple tip to keep the meat moist is to add a water pan to the grill. Place a disposable aluminum pan filled with water directly over the heat source on the hot side of the grill.
Depending on your grill setup, the following techniques may also enhance your BBQ experience.
Using Wood Chips for Smoking with the Gas Grill
Another tip is to experiment with different types of wood chips for smoking, even when using a gas grill. You can use a smoker box or make a foil packet with holes poked in it. Fill it with soaked wood chips, such as hickory for a strong, smoky flavor or apple wood for a sweeter, milder taste. Place the smoker box or foil packet over the burners on the hot side of the grill. The smoke from the wood chips will infuse the ribs with a unique and delicious flavor.
Pre-cooking to Shorten Cook Time
If you're short on time, consider pre-cooking the ribs in the oven before finishing them on the grill. To do this, season the ribs as you normally would, then wrap them in aluminum foil. Place the wrapped ribs on a baking sheet and bake at 300°F for about 2-2.5 hours, depending on the thickness of the ribs. Once pre-cooked, transfer the ribs to the grill for the final cooking stage.
Using a Pellet Grill
As an alternative to a gas grill, a pellet grill can also produce exceptional ribs. Pellet grills use compressed wood pellets as BBQ fuel. providing a consistent heat source and infusing the meat with a rich, smoky flavor.
To use a pellet grill, set the temperature to 225°F and place the ribs on the grill grates. The indirect heat and smoke from the pellets will cook the ribs slowly and evenly. Pellet grills often come with a variety of wood pellet flavors, such as cherry, mesquite, or pecan, allowing you to experiment and find your favorite taste profile.
With these tips and tricks, you can elevate your BBQ ribs to the next level. These methods will help you achieve delicious, tender ribs every time.
Common Mistakes and How to Avoid Them
Cooking ribs can be tricky, but knowing how to avoid common mistakes can help. Check out these frequent beginner mistakes that you can "glaze" over and get right to the "meat" of grilling!
- One common error is not removing the membrane from the back of the ribs. This membrane becomes tough when cooked and can prevent flavors from penetrating the meat. Always take the time to remove it before seasoning.
- Another mistake is cooking over direct, high heat, which leads to burnt ribs that are undercooked inside. Stick to indirect heat and lower temperatures for even cooking.
- Applying sauce too early is another common issue. Since most BBQ sauces contain sugar, they can burn easily. Wait until the last 15 minutes of cooking to add the sauce.
- Cutting into the ribs too soon after grilling can cause them to lose their juices. Let them rest for a few minutes to keep moisture and enhance flavor.
Following these simple tips can help you avoid these common pitfalls. With a bit of attention to detail and patience, you'll be serving up delicious, tender ribs that will impress you.
Conclusion
Grilling ribs on a gas grill is a delightful way to enjoy a BBQ feast. With the proper preparation, you'll enjoy tender, flavorful ribs each time.
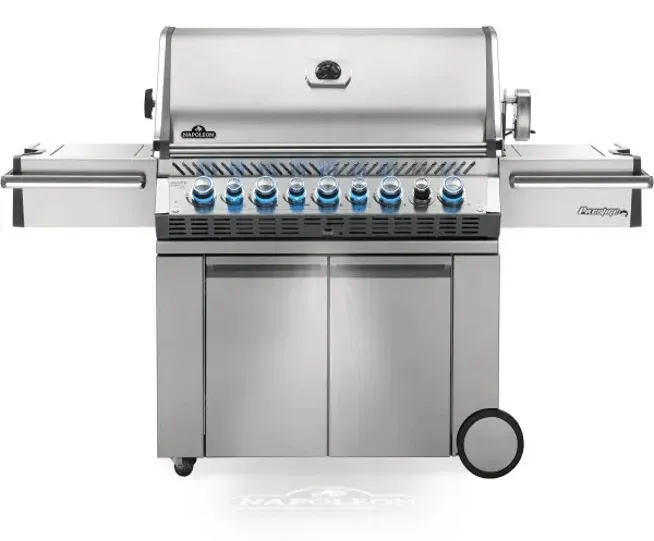
For all your grilling needs, visit Proud Souls BBQ, your go-to
online BBQ store for outdoor gas grills, rubs, sauces, and
barbecue smokers. Start your BBQ journey today and bring out the grill master in you!

Become a BBQ Insider
Subscribe to our Newsletter Today
BBQ Insider Newsletter

- Mon - Fri
- -
- Saturday
- -
- Sunday
- -


