In this section, we’ll get into the nitty gritty of cleaning your outdoor grill. Follow these simple steps, and you’ll be grilling in no time.
1. Gathering Your Cleaning Supplies
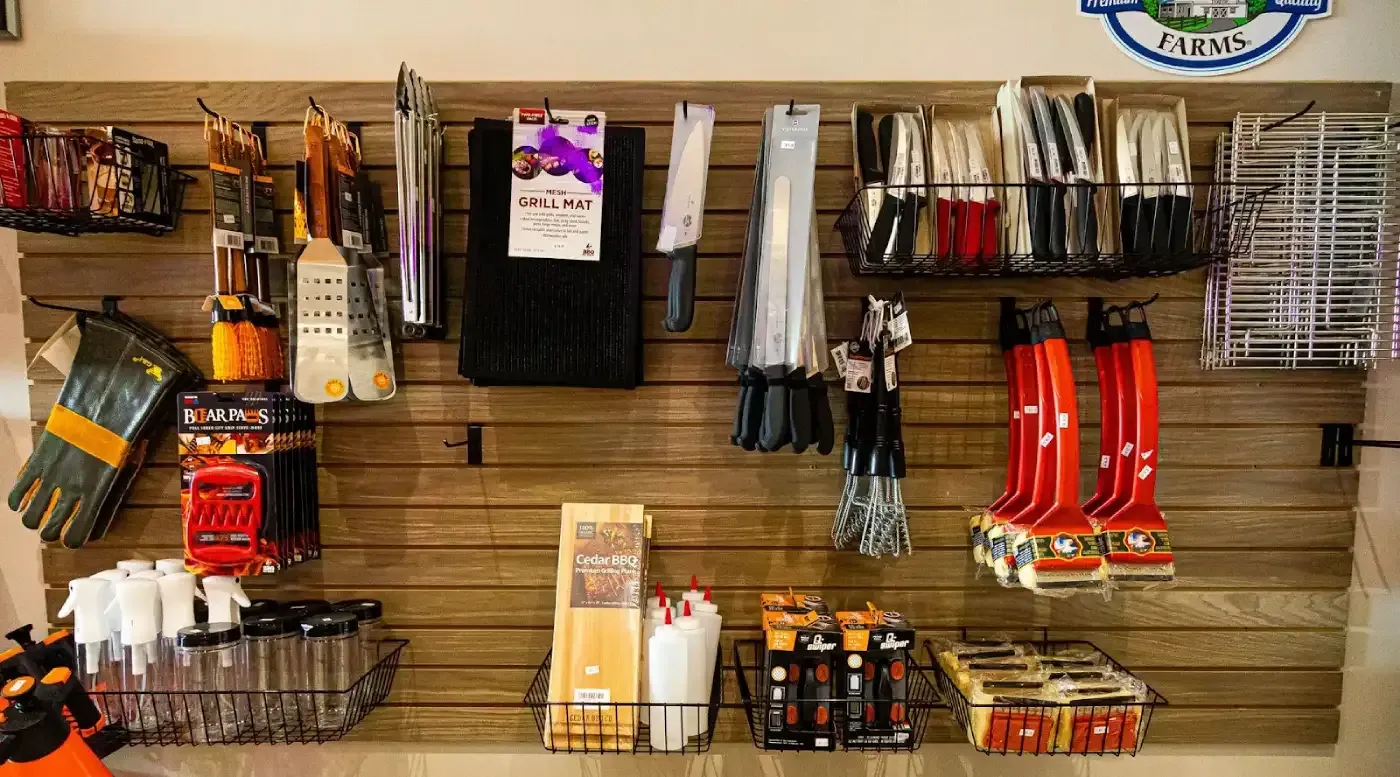
Before you get started, make sure you have all the tools you need. Gathering everything beforehand will save you time and keep you focused on getting the job done right. Here are some must-have items to properly clean your outdoor grill:
- Grill brush
- Bucket of soapy water
- Sponge
- Putty knife
- Gloves
- Vegetable oil
- Degreaser (optional for particularly dirty grates)
- Wet-dry vacuum (optional for cleaning out ash or debris)
You're almost ready to clean! However, below are a few items that aren't essential but could help you optimize your grill’s cleanliness.
- Grill Brick: A grill brick can be helpful for scrubbing stubborn spots on the grill grates or other components. It’s especially effective on flat-top grills.
- Stainless Steel Cleaner: If your grill has stainless steel surfaces, a dedicated cleaner can help prevent streaks and maintain the shine.
- Microfiber Cloths:
These are great for wiping down surfaces without leaving lint behind.
Having these supplies ready before you begin will ensure that your cleaning session goes smoothly. The last thing you want is to be halfway through and realize you’re missing a crucial tool.
2. Pre-Cleaning Steps
Now that you have your supplies ready, it’s time to prepare your grill for cleaning. Taking these initial steps will make the rest of the process much easier and safer.
Turn Off and Disconnect the Grill
Safety first! Always turn off the gas supply before you start cleaning. Either shut off the propane tank or disconnect the gas line if you’re using a natural gas grill. This step is critical to avoid accidents. Not only does it prevent gas leaks, but it also ensures that you won’t accidentally ignite the grill while cleaning.
Cool Down the Grill
Once the grill is turned off, allow it to cool down if it was recently used. You don’t want to start cleaning a hot grill and risk burning yourself. If you’re in a hurry, you can leave the lid open to help it cool faster. However, remember that some components, like the grates, might still retain heat longer than others.
Removing Grates and Components
When the grill is cool, remove the grates, burners, and any other removable parts. This will give you full access to the grill’s interior and make the cleaning process much easier. Place these components in a bucket of warm, soapy water to soak while you move on to the next steps. Soaking helps to loosen any stuck-on food or grease, making them easier to clean later on.
3. Cleaning the Grill Grates
The grates are where your food sits, so keeping them clean is a must. After soaking the grates for a while, take your grill brush and scrub off any leftover food particles or grease. If they’re really dirty, you can use a degreaser to help break down the grime.
Rinse them thoroughly with water after scrubbing and dry them with a towel to prevent rust. Regularly cleaning your grill’s grates keeps it looking good and helps prevent food from sticking during cooking.
Pro Tip: For especially stubborn spots, consider using a grill brick. This pumice-like material can be very effective at scraping away tough, burnt-on food without damaging the grates. Just make sure to rinse thoroughly afterward to remove any residue.
4. Cleaning the Burners and Heat Deflectors
Next, you’ll want to clean the burners and heat deflectors. These components play a significant role in cooking your food evenly.
Start by gently brushing the burners to remove any debris. Be careful not to damage the burner ports. For the heat deflectors, a good scrub with soapy water should do the trick. If your heat deflectors are particularly greasy, consider using a degreaser for a more thorough clean. Make sure everything is completely dry before putting them back in place.
While cleaning, take a moment to inspect the burners and heat deflectors for any signs of damage, such as rust or cracks. These components are essential for even heat distribution, and damaged parts can lead to uneven cooking or even safety hazards. If you notice any significant wear, it might be time to replace them.
5. Cleaning the Interior of the Grill
Now that the main components are clean, it’s time to tackle the inside of the grill. Start by using your putty knife or grill brush to scrape off any built-up grease or food particles from the grill’s interior surfaces. Pay special attention to the sides and bottom where grime tends to accumulate.
After scraping, wipe down the interior with a sponge soaked in soapy water. This will help remove any remaining residue. If your grill has a removable bottom pan, don’t forget to clean that as well. A clean interior ensures your grill operates efficiently and reduces the risk of flare-ups.
For those who want to go the extra mile, consider using a grill cleaner spray designed for the interior surfaces. These sprays can help break down tough grease and make wiping down the interior even easier. Just be sure to rinse thoroughly to avoid any chemical residues.
Pro Tip:
The grease trap is often overlooked but is crucial for preventing flare-ups. Remove it, empty any accumulated grease, and give it a good scrub with soapy water. If your grease trap is disposable, consider replacing it.
6. Cleaning the Exterior of the Grill
The outside of your grill is just as important as the inside. If you have old grease or food stuck outside, it could catch fire or even attract bugs.
Start by wiping down the outside with soapy water and a sponge. For stainless steel surfaces, you might want to use a stainless steel cleaner to avoid streaks. Pay attention to the control knobs, handle, and any other surfaces you touch frequently.
Dry everything off with a soft cloth to prevent water spots or rust. Keeping the exterior clean will help extend the life of your grill and keep it looking like new.
Pro Tip: While cleaning the exterior, take the opportunity to inspect it for any signs of rust, peeling paint, or other damage. For minor rust spots, a bit of steel wool and a touch-up with high-heat paint can work wonders.
7. Reassembling the Grill and Final Checks
Once everything is clean and dry, it’s time to put your grill back together. Start by placing the burners and heat deflectors back in their positions, followed by the grates. Make sure everything is securely in place before turning the gas back on.
After reassembling, do a quick check to ensure the grill is functioning properly. Turn it on, let it heat up, and check for any odd smells or uneven heating. Don’t forget to check the gas connections for any leaks. A simple soap and water solution brushed over the connections can reveal any bubbles, indicating a leak. If you find one, tighten the connections or replace the parts as needed. These final checks will give you peace of mind that your grill is ready for use.
Pro Tip: If you want to keep your grill in top shape all year round, invest in a quality grill cover. Protecting your grill from the elements is one of the easiest ways to extend its life. A high-quality, weather-resistant cover will shield your grill from rain, snow, and sun. Covers with venting are even better, as they reduce the chances of condensation. Remember, moisture means rust.
Grill Perfect Awaits: Let’s Get Cooking!
